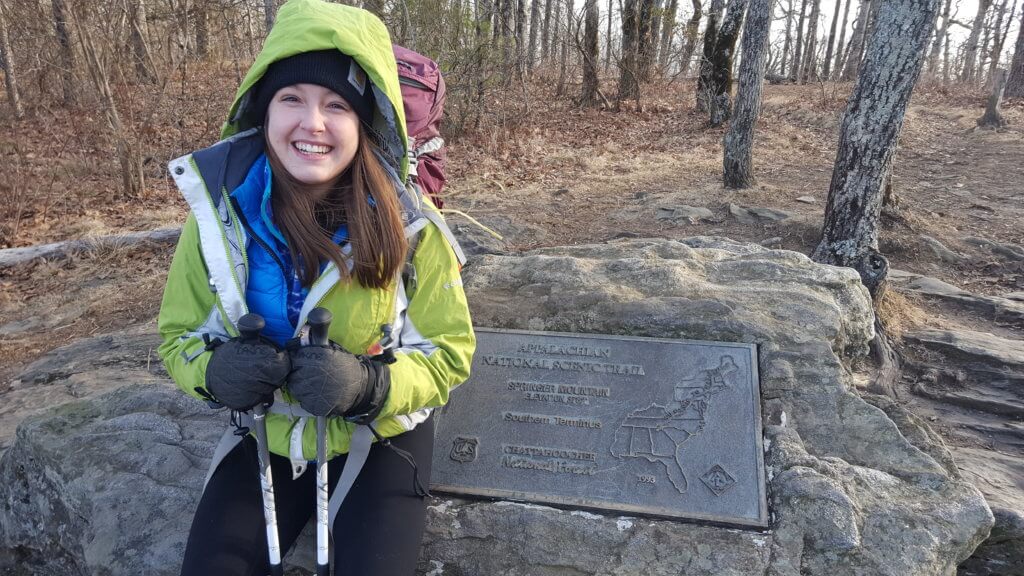
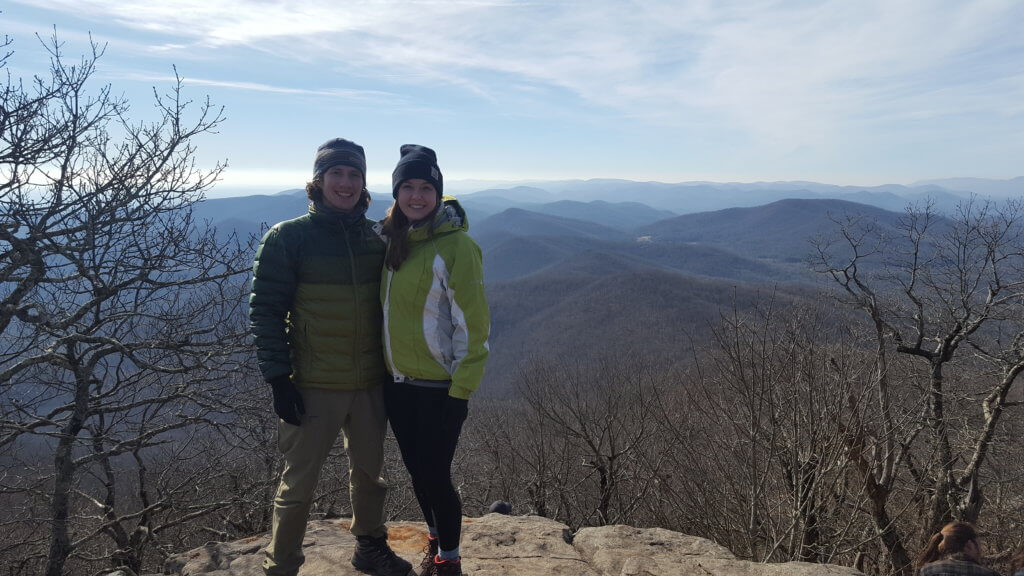
As working adults with busy schedules and limited vacation days, we have to seize travel opportunities where we can get them. Both lucky enough to have a week-long Christmas break from our respective jobs, we decided to drive to Georgia to hike the first section of the Appalachian Trail: Springer Mountain to Neel Gap. Planning around the holidays, we had just enough time to drive from Wisconsin to Georgia, spend three days on the trail & have an extra day to explore.
Knowing nothing about the AT and having never visited the Appalachian Mountains, we had a lot of planning & research to do. We quickly discovered the difficulty of finding information for winter hiking this section of the AT. Details came in small pieces on hiker forums and personal blogs – meaning we had to read a lot to find the information we needed to plan our own hike. After scrolling through countless forums and websites we put together a plan that had the best chance of success, given our strict timeline.
Aside from trip logistics, we focused on our gear and outdoor preparedness to get ready for our first ever winter camping trip. Aware of the cold conditions and unpredictable mountain weather, we researched winter camping tactics and gear that we would need to comfortably complete the hike. Additionally, strategically packed and purchased the select gear we would need for all potential weather conditions. We, as most beginners do, erred on the side of caution and packed to much.

Our Appalachian Trail Itinerary:
We had an amazing experience on the trail filled with challenge, triumph, and the mesmerizing beauty of the Appalachian Mountains. Originally, we allotted four days to backpack the 31.2 miles from Springer Mountain to Neel Gap, but found ourselves on pace to finish it in three. We have compiled a breakdown of our original plan as well as how we actually spend our days on the trail.

Our first day we powered through 13 miles thanks to our fresh legs & not having to make breakfast or break down camp in the morning. From there, we slowed our pace down a bit. Sore muscles, cold mornings, and camp tasks took up more time than we thought. We usually hit the trail between 9:00 – 10:00 AM and made camp just as the sun set around 5:00 PM. Each day we decreased in mileage, strategically saving the shortest mileage day to climb Blood Mountain – the highest elevation gain on this section of the trail.
We felt extremely happy with our hike and the way we approached the trail. Although some days we worked harder than expected, we didn’t hesitate to sleep in or take breaks as needed. We let the miles happen naturally instead of forcing an itinerary in order to enjoy the trail.

Appalachian Trail Planning Considerations:
Our pre-planning saved us a ton of time and hassle, allowing us to spend less time on logistics when we arrived and more time on the beauty of the mountains. Research also made us extremely prepared and comfortable in some less than ideal conditions, unlike a group of other section hikers we met on the trail. While preparing for any multi-day backpacking trips all of the below elements should be considered and evaluated during the planning process to ensure a great trip.
Appalachian Trail Weather
Like many mountains ranges, the Appalachians have a mind of their own. Each and every mountain can experience a different weather pattern than its neighbors – sometimes even on different sides of the same mountain. We discovered this firsthand as we wandered around the mountains; one side calm and saturated in sunshine and the other whipping with freezing winds. It’s impossible to know the exact weather you will encounter so you really need to be prepared for it all.
Common weather apps are usually not accurate to the trail since they tend to monitor the closest cities to the AT, not the trail itself. We used AT Weather to find the best & up-to-date weather predictions along the Appalachian Trail. AT Weather allows you to select exact points along the trail, not general areas, ensuring the most accurate weather forecast. The weather can change drastically from day to day or even hour to hour so check the forecast frequently before heading out.
Even if the weather looks fine, it’s essential to respect the power of nature and bring enough gear to be prepared for all situations. We actually almost canceled our trip because the weather predicted freezing rain a few days before our trip, however, the morning of our hike the freezing rain had been replaced with warmer temperatures and light snow. Day to day, weather can change in an instant. See below for some snapshots of what the weather looked the the night before & the morning of our trip:

Pre-Hike Accommodation Near Springer Mountain
There are plenty of options for accommodation around the southern terminus of the AT, mainly in the city of Blairsville but also scattered throughout the mountain resort areas. To save money, we opted to stay at the Mountain Crossings hiker hostel in Neel Gap. There, $18 buys you a bed in the bunk room, a nice hot shower, and access to a kitchen and communal area. Basic and clean, the hostel itself has everything you need – including an absolutely amazing shower with hot water and excellent pressure (exactly what you need before/after a few days in the wilderness).
Mountain Crossings also has a store filled with hiker gear, food, maps, and AT souvenirs. Knowledgeable and extremely friendly, the staff serve as a great resource for last minute trail questions and gear purchases. They also provide a “shakedown” service where a trail expert will inspect everything in your pack looking for ways to cut weight, upgrade gear, and maximize space. If you have questions about your gear, trail conditions, or need to upgrade some items, Mountain Crossings can help you get what you need.
Their website and Facebook page also serve as great resources for keeping tabs on trail conditions, providing advice, and sharing daily AT happenings.

Multi-Day Parking For The Appalachian Trail
Nothing would ruin an awesome section hike like returning to the parking lot and finding your car towed or vandalized. Although there are plenty of parking lots around the trail for day-hikers, finding a safe place to park overnight is a little tougher. After seeing many references to the Byron Reece Trailhead parking lot, we decided to park our car there for our three day hike.
Located 400 meters down the road from Mountain Crossings, the Byron Reece parking lot fit our needs perfectly. The lot is small, sheltered, and has a solid safety record according to multiple forums on White Blaze. There are no required fees or stamps for overnight parking and no posted tow signs. The lot is fairly small, so it is important to arrive early if you plan on leaving a vehicle for an extended period of time. We arranged our shuttle to meet us in the lot at 5:30 a.m., early enough to get a spot and a strong start on our first day hiking.

Appalachian Trail Shuttle Service
The southern terminus has infinite shuttle options for transportation to the start of the trail. Whether you’re coming from the Atlanta airport, bus station, or parking your car at your end location, shuttlers will happily accommodate you – for a fee of course. Hikers themselves, most shuttlers came to the area to become more involved with the trail and provide services to other hikers.
To schedule our shuttle, we called Mountain Crossings and asked for some recommended shuttle companies. They gave us a few names and phone numbers and advised we schedule our ride a few days in advance. We picked a service, set up our pick up date, time, and location and met our ride three short days later in the parking lot of the Byron Reece Trailhead.
To schedule a shuttle you can simply select one of the many phone numbers with a good review listed in a hiker forum or in any of the below general resources. Simply call, share the details of your trip, confirm a pick up location and agree on a price. A standard shuttle fee does not seem to exist, so just go with what seems like a fair price. As a reference, we paid $80 total for a 90 minute ride from Neel Gap to Springer Mountain.
Don shuttled us for this trip and his phone number is 772-321-0905. He provided professional service, friendly conversation, and an on-time pick up. Additionally, the AT Conservancy provides a list of transportation and shuttle services for you to arrange your trip from.

Appalachian Trail Navigation
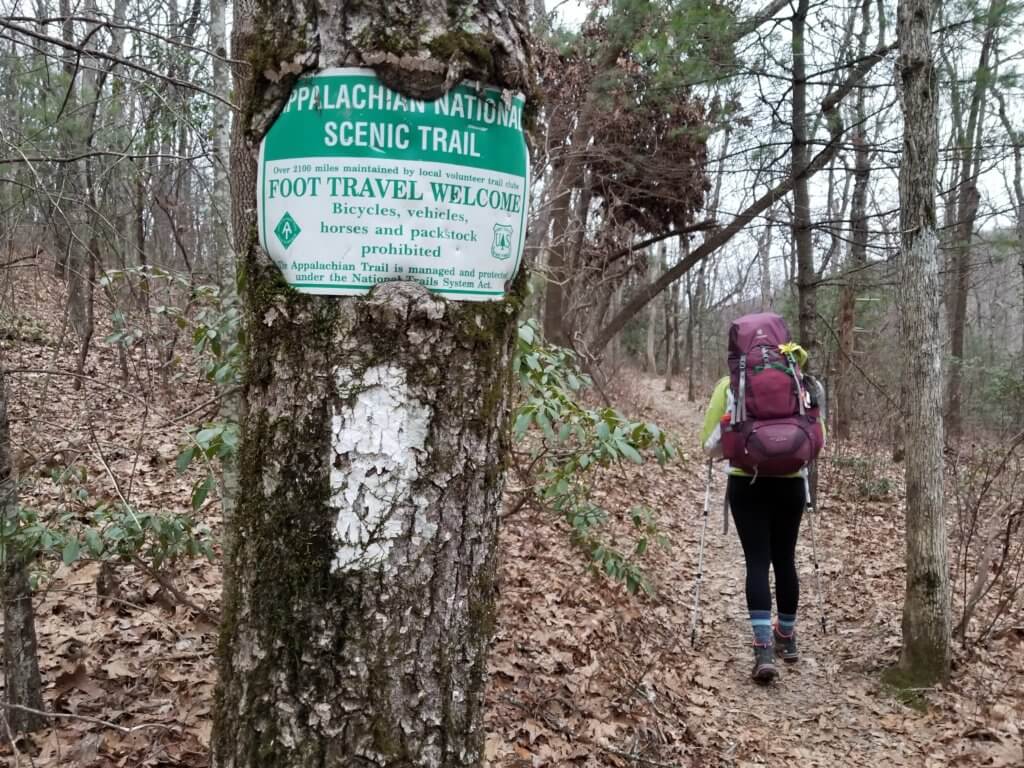
The National Geographic Appalachian Trail Topographic Map Guide served as our keystone resource on the trail. It clearly displays mileage, elevation, water sources, shelter & camping locations, alternative routes & so much more. The map opens like a book, saving you the hassle of opening a huge piece of paper and is also water resistant and tear proof so it will stand a fair chance against the elements on the trail.
We debated even purchasing a map since the trail is so well marked and maintained, but we definitely would have been worse off without it. Having a detailed map allowed us to make educated decisions on the trail when our original plans changed. We used it to plan our days in regards to mileage and elevation as well as to find potential water sources and alternative campsites when our first choices didn’t pan out. We seriously can’t recommend the map enough; it saved us so much time and hassle on the trail.

Trail Accommodation
The AT has three options for overnight accommodation: shelters, campgrounds, and single campsites. We originally planned to only stay in shelters, but considering our pace, daily mileage, and need for water we ended up staying at campgrounds instead.
- Shelters: AT shelters are usually three-sided, wooden buildings that are filled in a first-come-first-serve nature. They can usually house 5 – 15 people and serve as a great social opportunity and way to meet and bond with other hikers. All shelters contain access to a permanent water source, a pit toilet, and bear-proof food storage options. Staying in a shelter means you will not have to set up a tent or hammock for the night and will have the most protection from the elements. Shelters usually fill up fast, so plan to arrive early during peak seasons.
- Campgrounds: Small with 3 – 5 campsites and communal fire pits, campgrounds serve as a good way to meet other travelers and minimize human impact on the trail. All campgrounds have access to a permanent water source, a form of bear-safe food storage, and an established tent pad.
- Campsites: Sporadic, maintenance-built campsites are located randomly throughout the trail. They often provide unique overnight settings and allow you to set up camp whenever you feel ready to end the day. Individual campsites offer more privacy and seclusion on the trail since they only have enough space for one or two tents. Most campsites are not indicated on trail maps and are also not guaranteed to be near a water source, so make sure you have enough water for the night when you stop.

On-Trail Considerations
Overnight
Have a general idea of where you want to spend each night, but also prepare backup options before and after your preferred stop. This allows leeway in case you travel slower than anticipated or want to push ahead further. On our first night, we planned on staying at the Hawk Mountain Shelter, but ended up reaching it before noon. We then decided to continue towards our second overnight pick, Cooper Gap. Knowing the distance and having a selected backup campsite allowed us to judge the mileage against the daylight left and our energy. Passing up Hawk Mountain was an easy decision for us to make because we already had a back up plan.

Food
Your body requires more calories than usual in colder weather, so pack extra food to ensure your body has enough fuel to produce body heat and keep you warm. To maintain your body heat, consider eating lots of snacks during the day instead of a big, sit-down meal.
We found that when we stopped for a long period of time, we lost all our body heat and had a hard time warming up again. Instead, we took many short breaks during the day to eat a quick granola bar, dried fruit, or trail mix to keep up our energy. We ate hot meals for dinner to warm us up before bed and also packed tea and hot chocolate for the nights and mornings.

Water
As you hike, constantly stay aware of your water levels and the location of the next possible water source. In some sections of the trail, the elevations are too high to find any water for miles. We experienced one scary moment close to dark when we were low on water and nearly three miles away from the nearest known water source. After that scare, whenever we saw water, we always replenished our stocks to ensure we had enough to drink, prepare our meals, and heat our sleeping bags every evening. Even though we didn’t feel very thirsty in the cold, staying hydrated made it easier for our bodies to maintain heat and stay warmer through the night.
Fuel
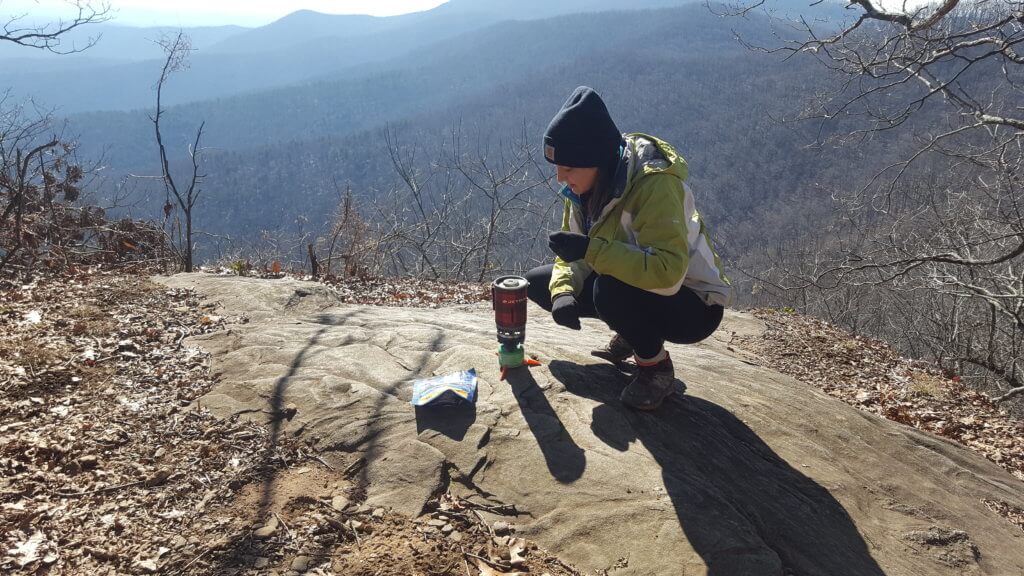
Cold weather and high elevations consume more fuel than at sea level. Make sure you bring extra fuel; especially since it is your main source of heat. We brought a back up fuel canister for our JetBoil and ended up not needing it, but it was better to be safe than sorry in the cold conditions.
Gear
Bring gear for every possible weather scenario you could encounter on your trip. Since the weather in the mountains can change at a moments notice, you need to be prepared for anything. We only wore synthetic materials and dressed in strategic layers. A thoughtful layering system allowed us to adjust our clothing throughout the day to regulate our body temperatures and stay dry. We created an in-depth breakdown of our layering system to give you an idea of what to bring with you. (link)

General Resources for the Appalachian Trail
If you’re traveling to the AT to section hike, preparation can feel overwhelming as you try to anticipate new terrain, weather, and logistics. Below we share some of the best resources that we used to plan our trip.
The Appalachian Trail Conservancy
This website is an excellent introduction to the AT; its history, options for experiencing, as well as additional advice and resources to help you properly prepare for your trip.
White Blaze
White Blaze contains practical advice from real people on various topics about the AT including forums where other hikers and enthusiasts share tips and advice for various trail sections as well as general trail information.
WikiTrail AT
Wikki Trail serves as an awesome resource for examining elevations, distances, resources, and shelters along your designated route. We found this site to be the most helpful while planning our mileage and overnight stops.
Travel Blogs (like ours!)
Simply reading about other people’s experiences on a specific section of trail really helps prepare you for what to expect and pack for your trip. Additionally, reading other blogs may help you learn from the mistakes of others – ensuring you have the best experience.
We hope you found this guide helpful! Feel free to reach out to us at stephanie@travanietravels.com with any specific questions!


A lot of good info here as I prepare to leave next week for Sprenger. Hawk by noon??? The map. Not alot said about the ups and down of blood either. Thanks for the info!!